Email Aliases
How they work and how to create them

Luciana Soldi Bullara
Last Update 3 anni fa
Email Aliases
Email Alias can be understood as nicknames of a user's primary email account. With the help of an email alias, a user can have multiple email addresses within one mailbox. That is, all the emails sent to the alias account will be delivered to the same mailbox as the primary account. Email aliases are handy for small and medium-scale organizations or organizations with multiple domains where a single person might be performing multiple operations.
Email Alias behaviors:
- When you add an email alias, the user will be able to send/ receive using the email alias.
- The additional email aliases will be added to the From drop-down, using which the user can select the From address for the particular email.
- The email alias can be used for only one user and cannot be reused unless the first created one gets deleted.
- Once added, the email alias can be used to login into the account.
- The email alias can also be used to configure email clients.
- Email Filters can be used to organize the emails that arrive at different email aliases.
- Use 'To/ Cc' contains filter condition
- Apply the action Move to folder/ Apply label for classifying emails.
Create an Email Alias
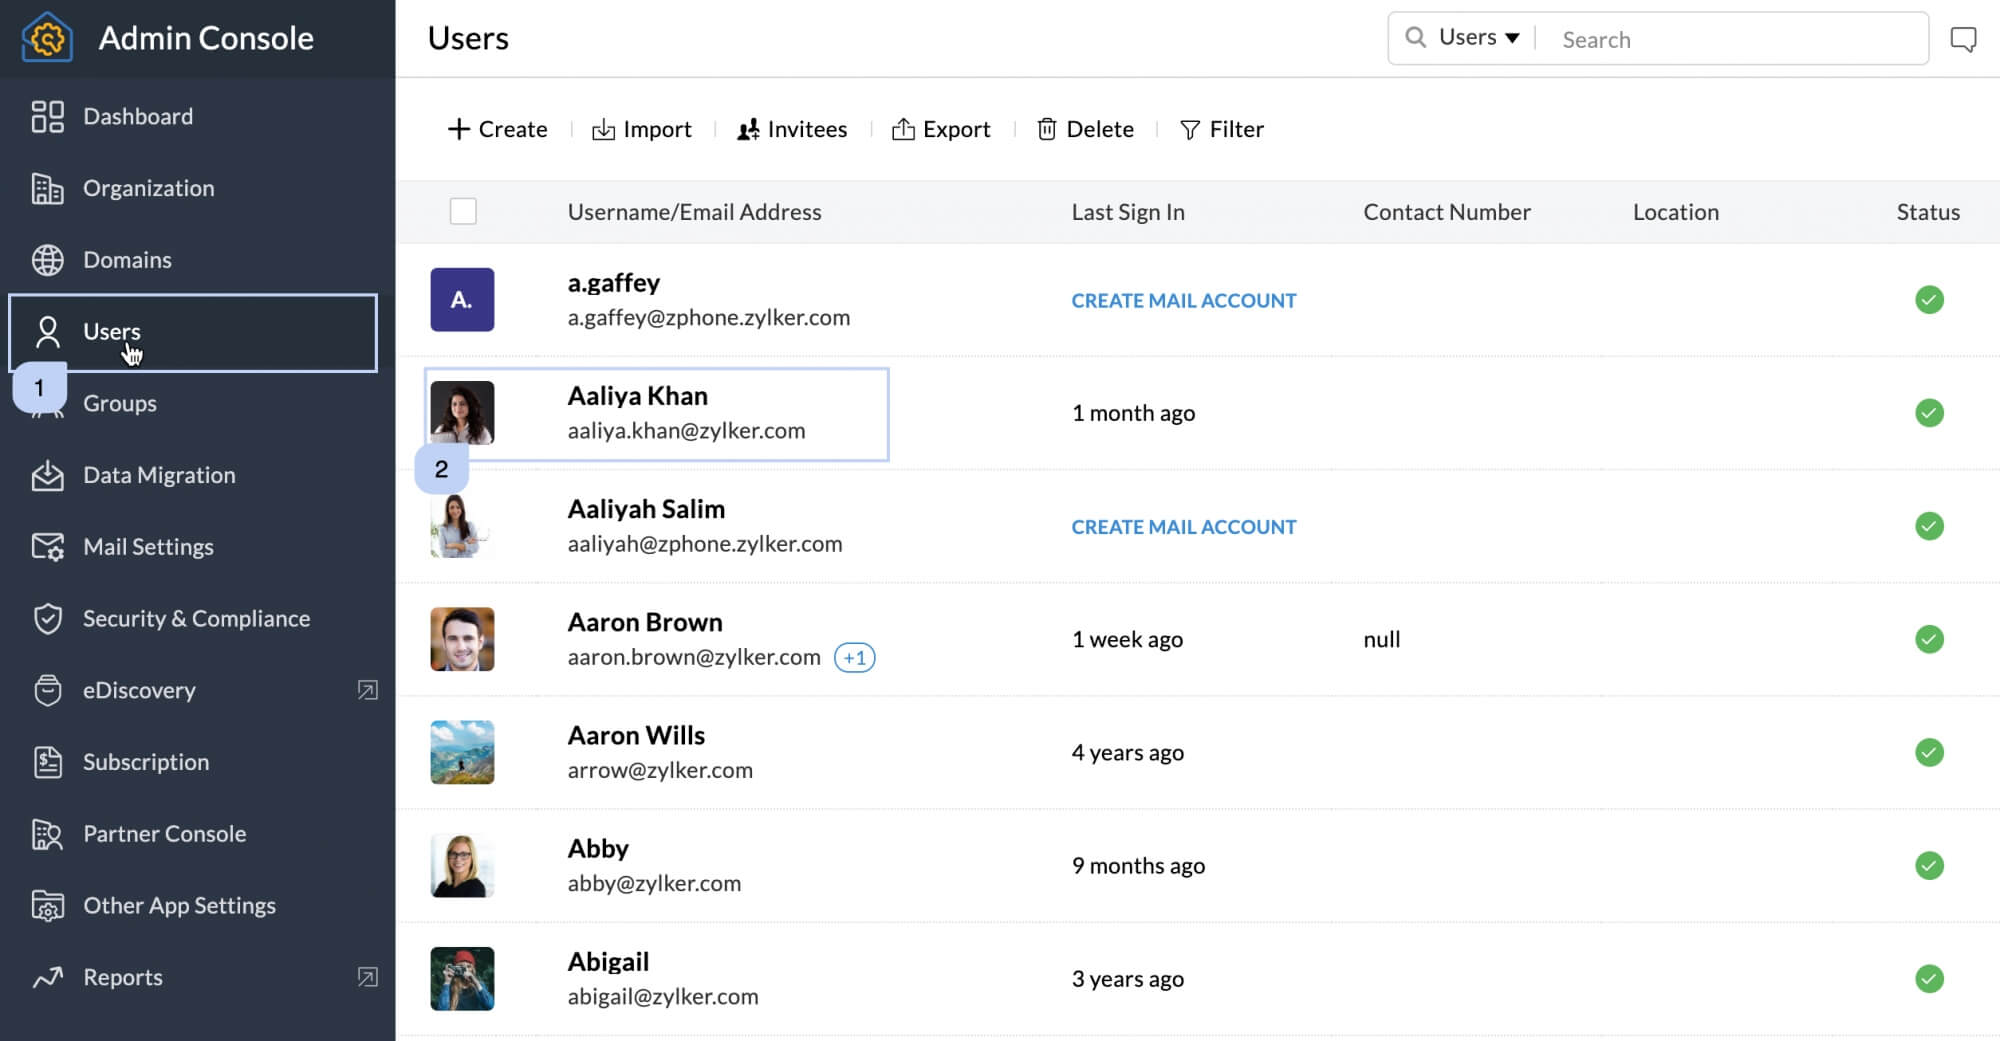
- Log in to Zoho Mail Admin Console.
- Navigate to Users in the left pane, and click on the user you want to assign an Email Alias.
- On the user page, click Mail Settings from the top menu.
- In the Mail Settings page, select Email Alias and click the Add button.
- Enter an Alias username and then choose the domain using which you want to create the alias.
- Once done, click the Add button.
Note:
If your account reaches the maximum number of email aliases, contact [email protected]
info: https://www.zoho.com/mail/help/adminconsole/user-settings.html#email-alias